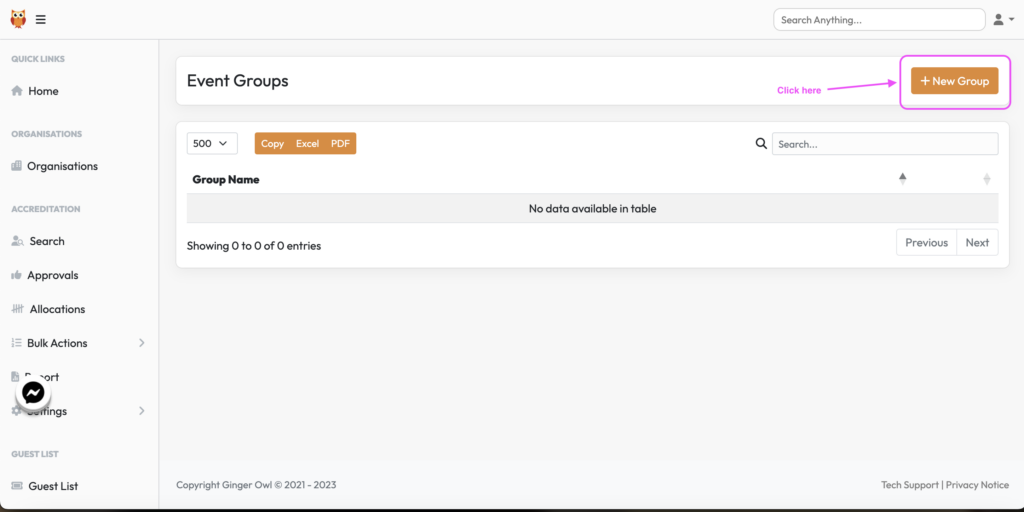
Via the grey menu bar on the left, scroll down to the bottom to find Event Groups. Event Groups can be a very powerful tool, so you need to have a think about how best to set these up. Below are some examples of how you can utilise Event Groups.
SITE ACCREDITATION
Departments – you could create a group for each department for example; Site Management, Tech Production, Partnerships etc. Then each contractor (org) would sit under each department (group).
The below set up allows for you to create different homepages per group if those contractors (orgs) need to see unique information to that group.
An alternative for a simpler event could be settings groups such as ‘Artist’ & ‘Contractors’. On a multi-site event they could be grouped by sites such as ‘Start Site’, ‘Finish Site’ as an option as the information that would need to go to the contractors (orgs) could be different.
Inductions can also be set to be only seen by specific groups. So you can set the H&S Induction to only be seen by Site Contractors and not Artists for example.
ARTIST ACCREDITATION
Stages – One good example of this set up is the below. By setting the groups this way we can build in the following options:
The advance forms can be set to go to the different advance teams so not everyone is flooded with seeing everything.
The advance forms can then be bespoke to that stage as you can set the relevant questions on the form and select which group can see which advance. For example artist on stage 3&4 may not get catering so you can remove any question around catering from the form.
The system homepage (ie the info they see when log in can include bespoke information that only artists in that group should be seeing. This could be something like Stage 1 & 2 need to see vehicle access route 1 to get to site but stages 3 & 4 must use vehicle access route 2. By separating them at group level into, you can then easily control which group sees what.
As for how, first click New Group

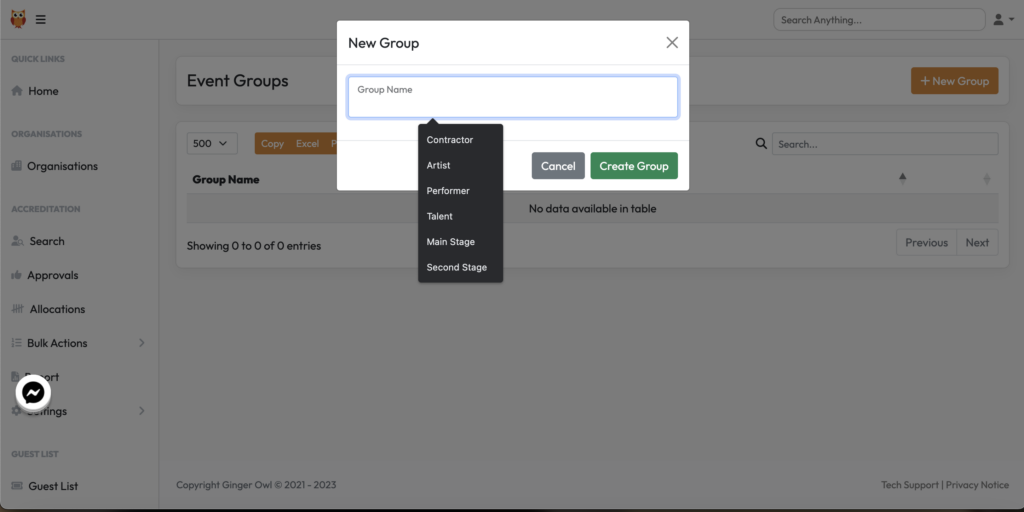
Then assign the name and click Create Group

